You now need to create a list.
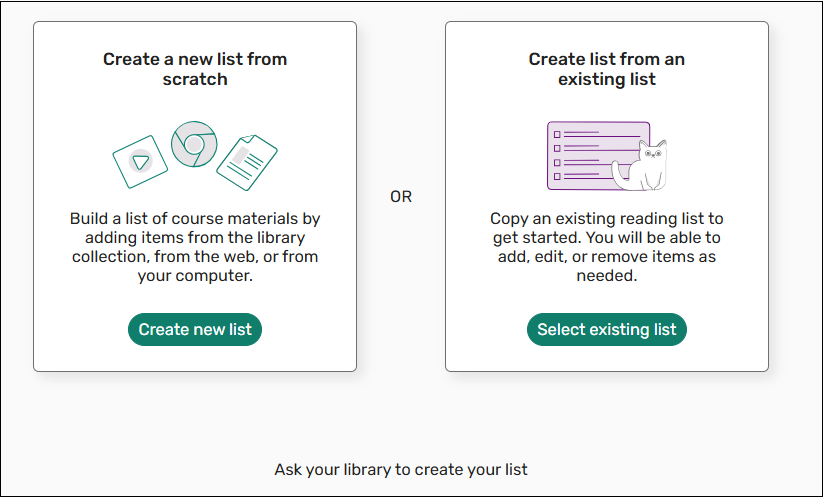
Lists can be created from scratch, or you can use an existing list.
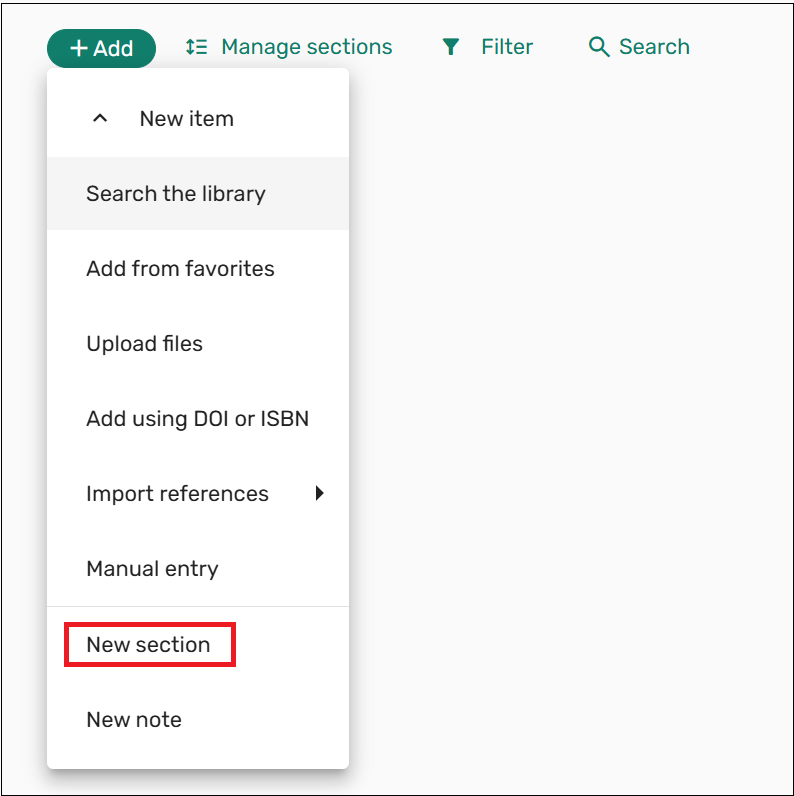
In Canvas, choose from the following options.

![]()

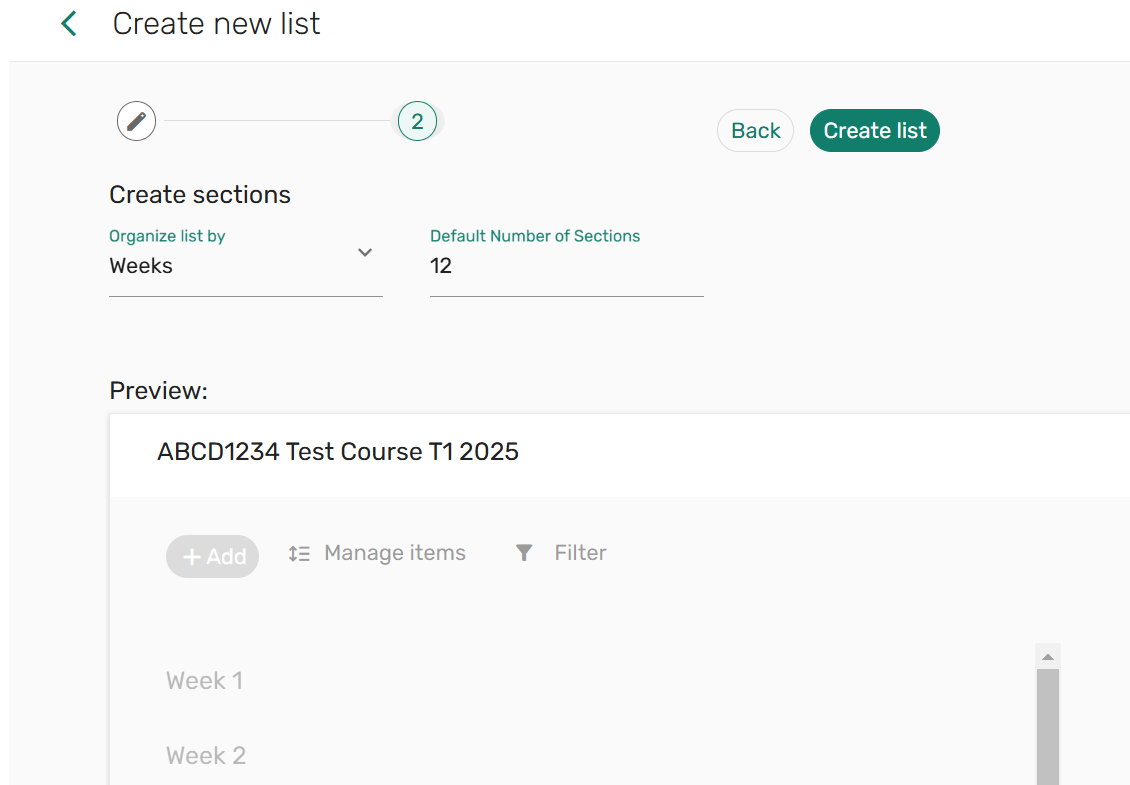
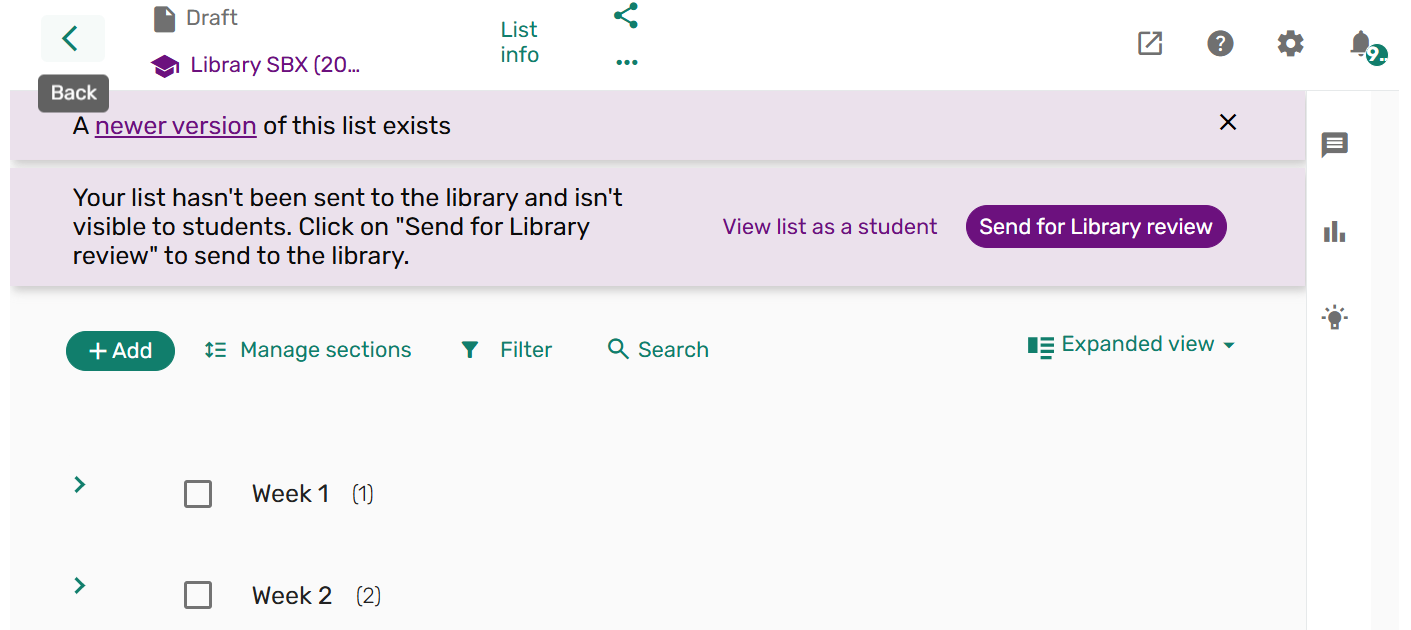
You can organise your reading list into sections by selecting either the default setting, or the Weeks option.
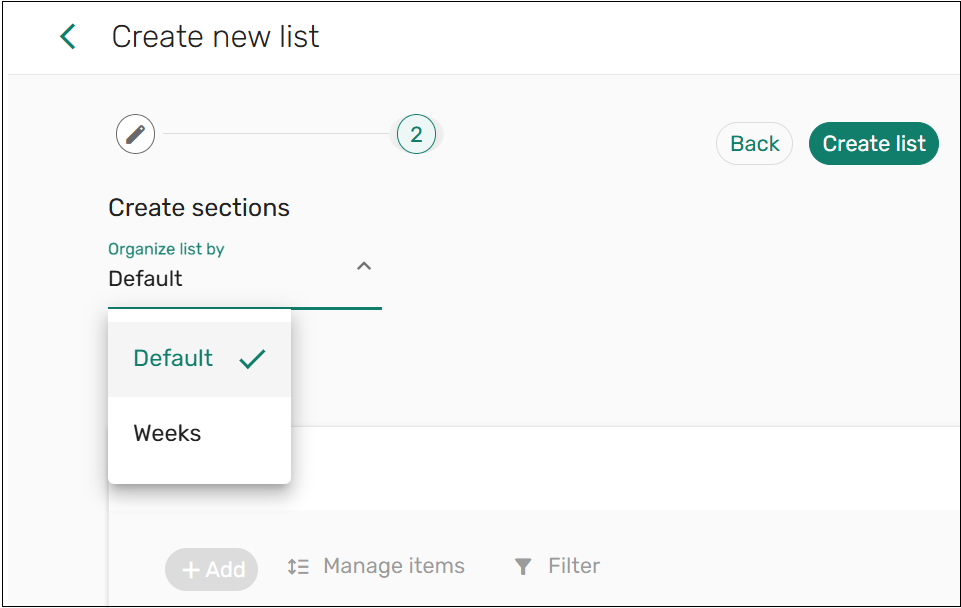
Course Readings Weeks option defaults to 12 weeks. You can change this to suit your course.
1. Select Create List.
2. Your list is now ready for readings to be added.
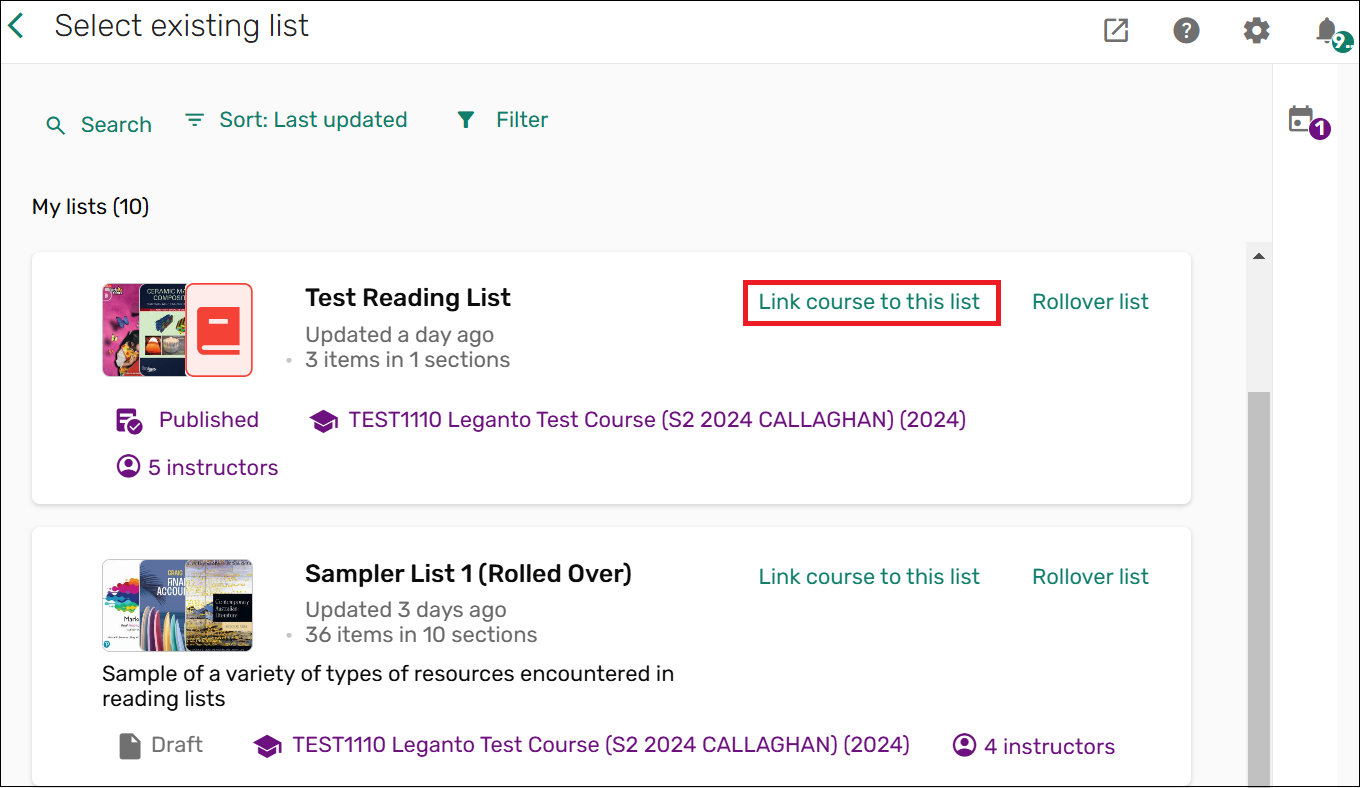
You can choose to use a list you have used previously. This list can be edited, with resources added and deleted as necessary. Within Canvas, select Create List from an Existing List. You will see all lists that include you as a collaborator.
![]()
Select Link course to this list to assign the list to the course you are currently in. It is now ready for you to edit and manage as necessary.
Note: if you accidentally assign the wrong list to the course, please contact the library rather than deleting the list.

If you would prefer the library to create your list, select the option from the home screen of Course Readings.
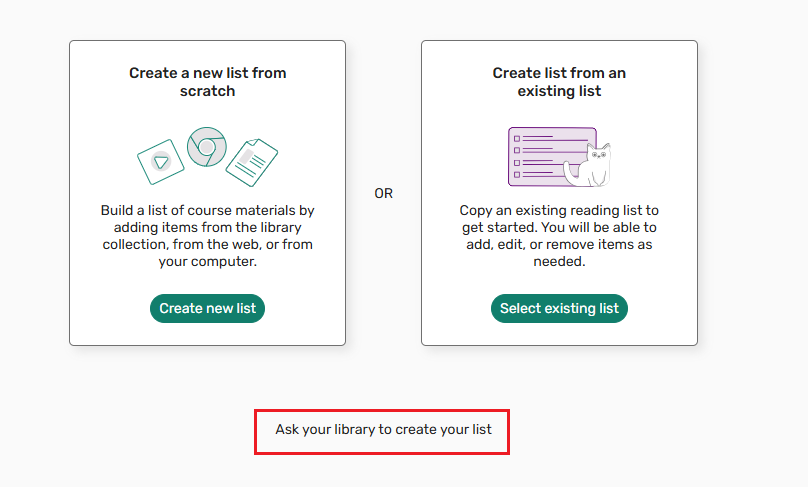
You can then upload file/s. Once you have added all your files, select Send file. The library's Course Readings team will review and contact you if necessary.
You can choose to add collaborators to a list. Collaborators can either be list owners or editors.
To add collaborators, select List Info and choose manage collaborators.
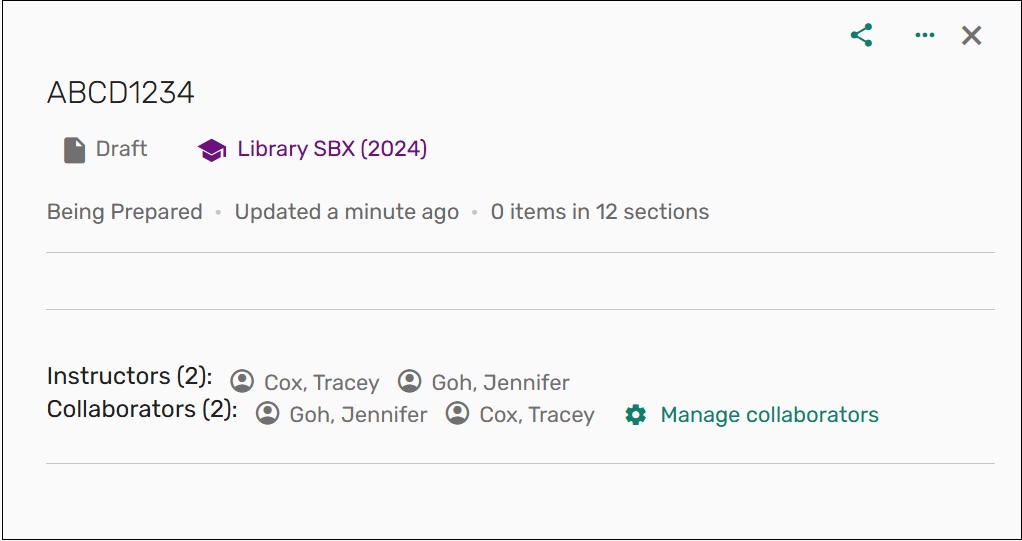
Once you have searched for a collaborator, you need to provide access permissions to the list. List owners can edit the list, add collaborators and delete a list. Editors can edit the list but cannot add any further collaborators or delete a list. The new collaborator will be notified that they have been added to the reading list.

Additional sections can be added after a list has been created. Select Add and choose the New Section option. Sections can be reordered by clicking and dragging them to the desired location.